Weatherstripping and caulking: sealing air leaks
Weatherstripping and caulking: finding air leaks with incense, choosing the right product, protecting fuel-burning appliances and knowing when to call a pro.
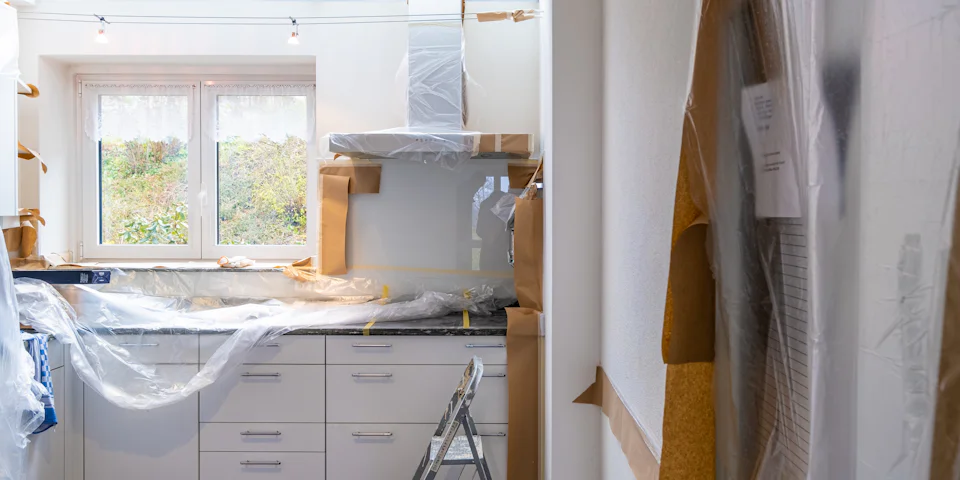
According to Natural Resources Canada, about 25 percent of a home’s heat loss can be due to air leakage, and its "Keeping the Heat In" guide calls air sealing the first upgrade to consider. Here is how to find leaks, seal them safely and know when to hand the job to a company.
1. Finding leaks
In winter, a house works like a chimney: cold air comes in low and warm air escapes high and through the ceiling. To find leaks, Natural Resources Canada suggests a home-made detector: two or three burning incense sticks. A strong leak scatters the smoke and makes the tips glow; a slower leak makes the smoke drift. Go around on a cold day, ideally a windy one.
To make leaks easier to find, you can close doors and windows and run the bathroom and kitchen fans and the dryer (cool cycle). Before this test, turn off fuel-burning water heaters and heating appliances so combustion gases are not drawn back into the house.
2. Where to look
- In the rooms: around windows and doors (thresholds included), outlets and switches, even on interior walls, ceiling light fixtures, baseboards and trim, pipes and ducts, and the attic hatch.
- In the attic: around the plumbing stack, wires and light boxes, ducts, the chimney and the access hatch.
- In the basement: where the wood frame meets the foundation, around the electrical, gas or oil entries (without touching the connections), cracks in the walls and slab, and the base of the chimney.
3. Caulking: inside first
- Seal cracks and openings on the inside of walls, ceilings and floors first. Caulk the outside of a window only after the interior sealing is done: otherwise it can trap warm, moist air in the wall and damage it over time.
- Choose a good-quality product made for indoor use that can be painted. A gap of 6 mm (¼ in.) or less can be insulated and then caulked; a wider one needs a foam backer rod with caulking, or low-expansion foam.
- Near heat sources (chimney, light fixtures, fan motors), use non-combustible caulking: silicone or polysulphide usually work, and high-temperature silicones are made for flue pipes. Read the label.
- Electrical outlets: turn off the breaker and check with a lamp that the power is off before installing a foam gasket under the cover plate.
4. Weatherstripping
Weatherstripping seals the joints that move, between the frame and the door or sash. There are four types: compression, brush, sweep and magnetic. Remove the old weatherstripping, paint and caulk from the contact surfaces, install the new strip, then check it regularly; a worn door sweep takes minutes to replace. Treat the attic hatch like an exterior door: caulk the frame, weatherstrip the edges and add hooks or a latch to hold it tight.
Careful: building codes require every bedroom to have at least one window that opens from the inside for emergency escape (NRCan, Section 8). Don’t seal it shut.
5. The effect on the whole house
A tighter house holds more moisture, which can cause condensation. Fuel-burning appliances (furnace, water heater, fireplace, wood stove) also need air: without enough of it, the chimney can spill dangerous gases into the house. Natural Resources Canada therefore stresses ventilation and combustion air; see our guide on air exchanger maintenance. In the attic, it also warns about asbestos and vermiculite insulation: don’t disturb it unless you know what it is (asbestos and vermiculite).
6. Air sealing: 2026 funding and a few local permit rules
The blower door test is part of the energy evaluation offered through Rénoclimat: an advisor visits, measures the leaks and leaves a report, and fees apply. Since October 1, 2026, that pre-work evaluation is no longer mandatory but still recommended, and it can itself be subsidized up to $500 according to the program’s page on what is new (in French, read November 1, 2026); eligible work goes to a company holding the appropriate licences. Hydro-Québec also lists caulking work, along with roof insulation, among the LogisVert measures (in French).
Caulking and new weatherstripping are maintenance; insulating from the outside is what may need a permit. In Laval, replacing exterior cladding with the same material while adding insulation needs a permit only if a PIIA applies to the property (exterior home renovation, in French). In Boisbriand, insulating attics and exterior walls needs none, although standards still apply (construction, renovation or demolition, in French).
7. When to call a company
A patient homeowner can do a good job, but Natural Resources Canada notes that professional air sealers usually do better: they use a blower door, smoke and infrared cameras to find leaks, and many also check ventilation and the risk of backdrafting from fuel-burning appliances. For insulation and air-sealing work (RBQ subclass 7) or replacing doors and windows (subclass 8), check the company’s licence before the first payment. Other subsidies exist: see Home renovation subsidies in Quebec in 2026.
Listed companies work on the Plateau-Mont-Royal, in Brossard and in Boisbriand; you can also describe your drafts and get quotes.